Let me just start out by saying that I was totally shocked that there weren’t like 47 different tutorials on making your own molecule on Pinterest. In fact, I didn’t really see ANY at all despite the fact that the Ferm Living version, while being very very pretty, is also $80.

So, for the Mad Scientist Baby on a budget, here’s how to make a molecule set yourself:
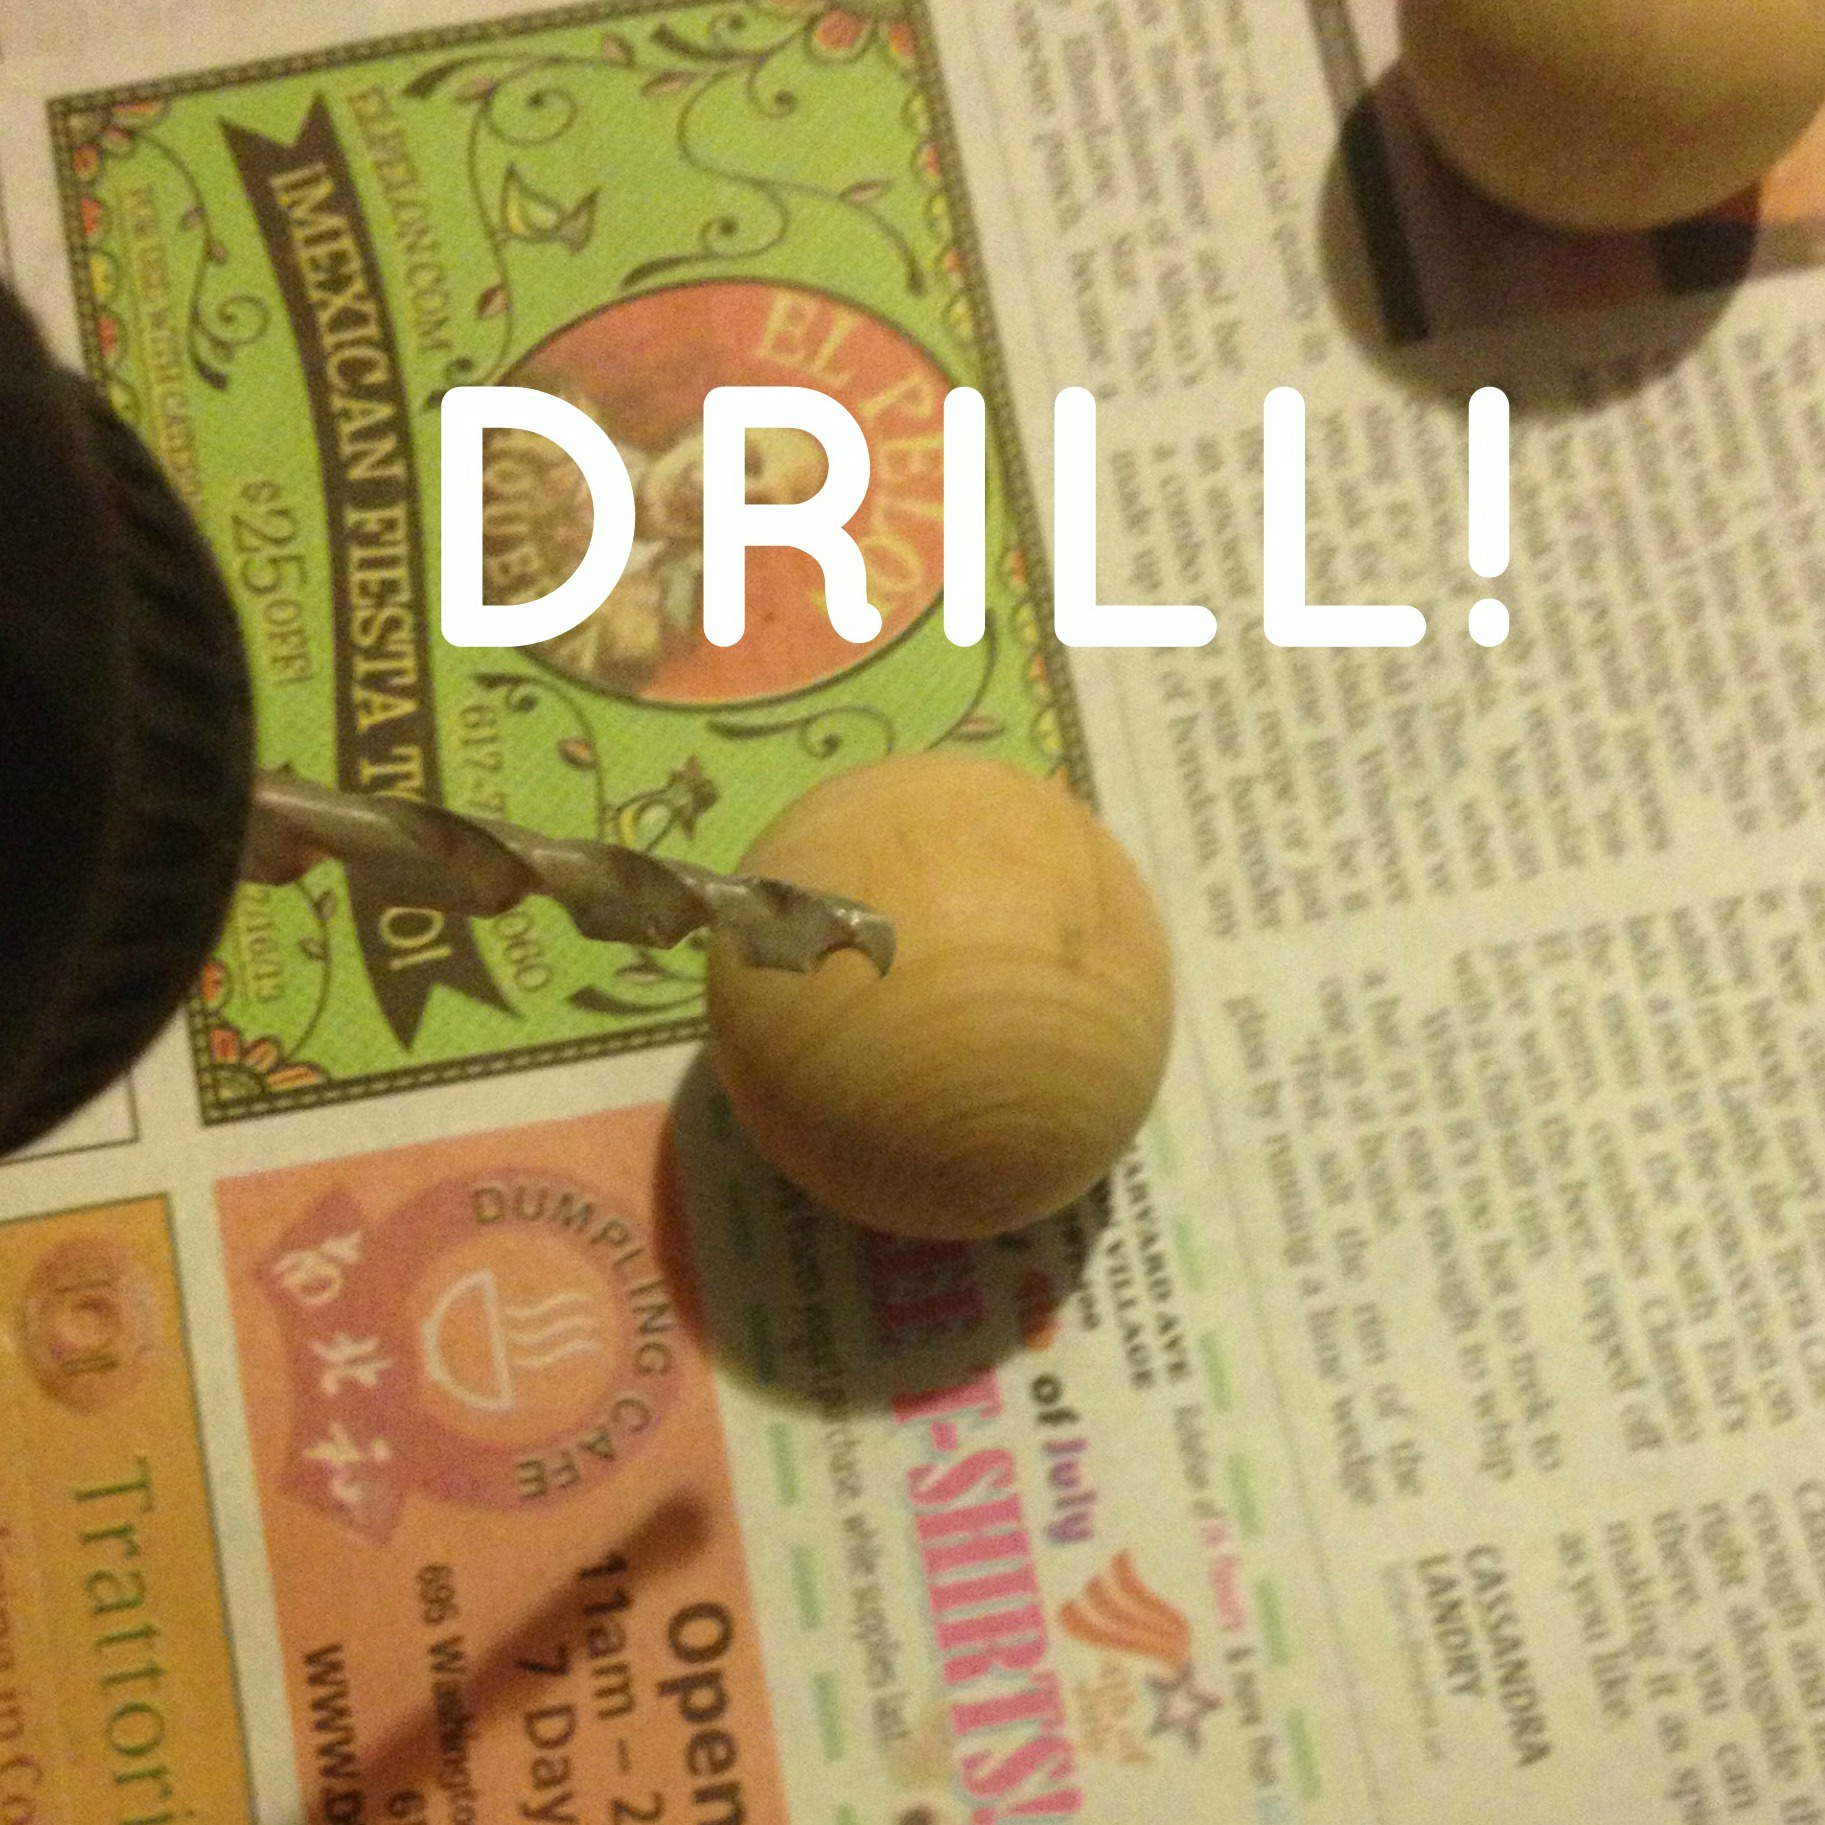
Step One: Drill holes in the little wooden balls that you got at Michaels ($3.99 for 10). Use the dowel rod you bought at Home Depot for 88¢ to determine the size of the drill bit you should use. Use the smallest one that you can fit the dowel in so that it fits tightly and won’t fall out. Drill 3 different holes on different sides of the ball.
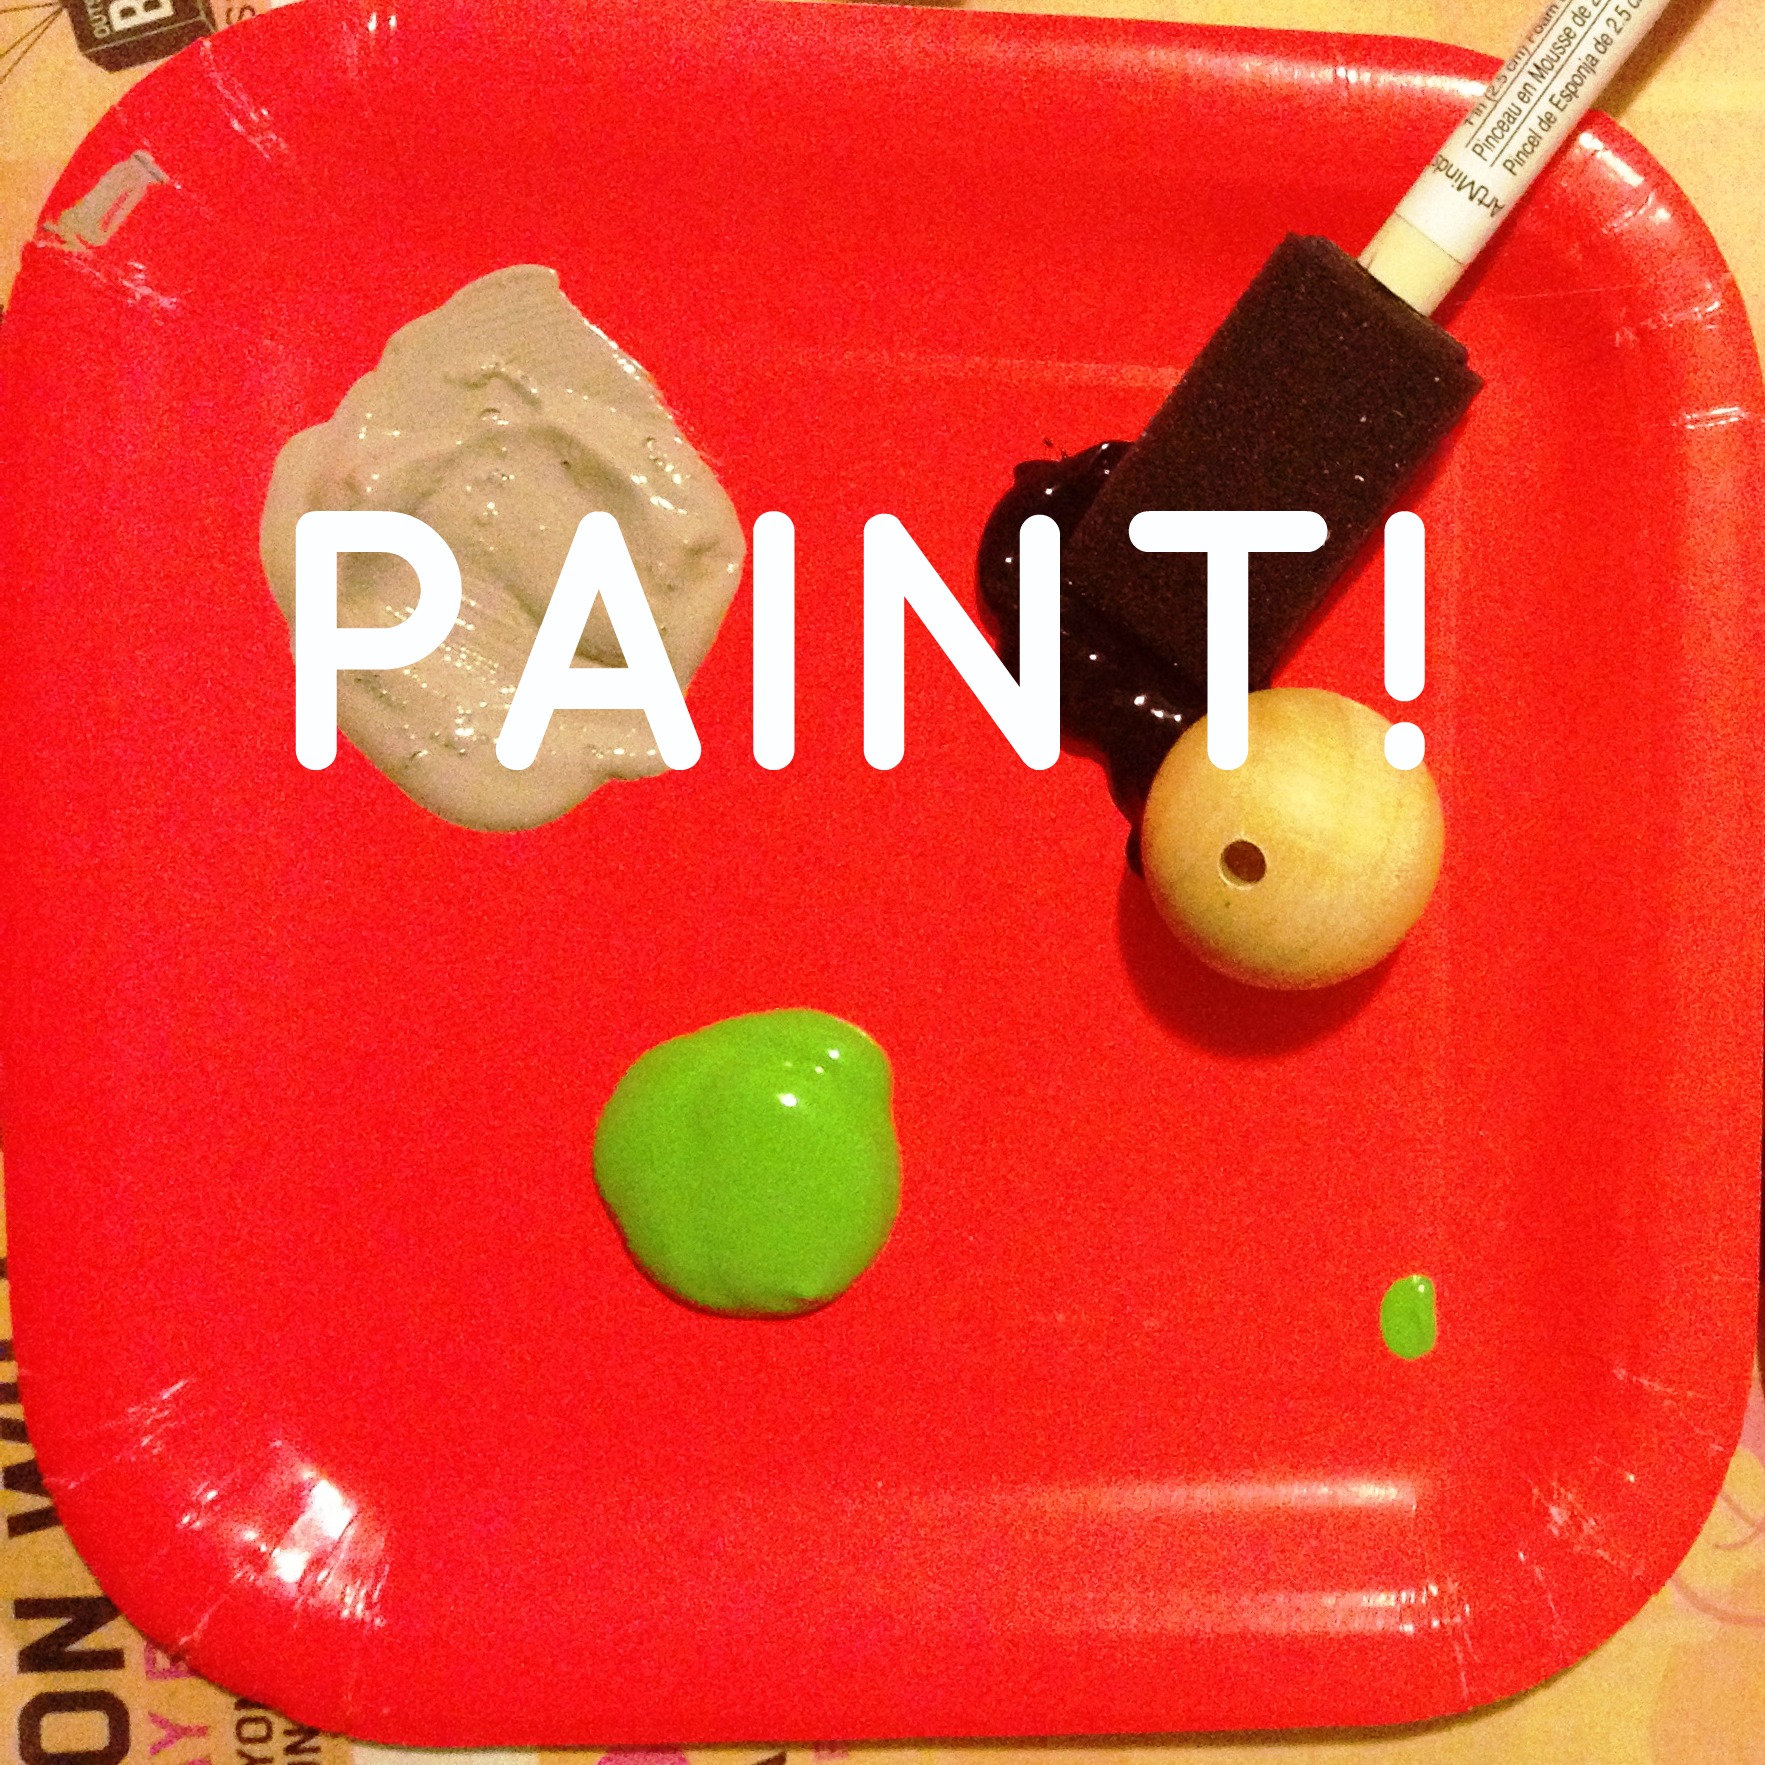
Step Two: Paint the “atoms”. I used the Martha Stewart Multi Surface Craft Paint (that I always use) in Grey Wolf, Beetle Black, Scottish Highlands and the pink is the Atta Girl Mythic paint that I used elsewhere in the room. I used a sponge brush and did two coats on each.
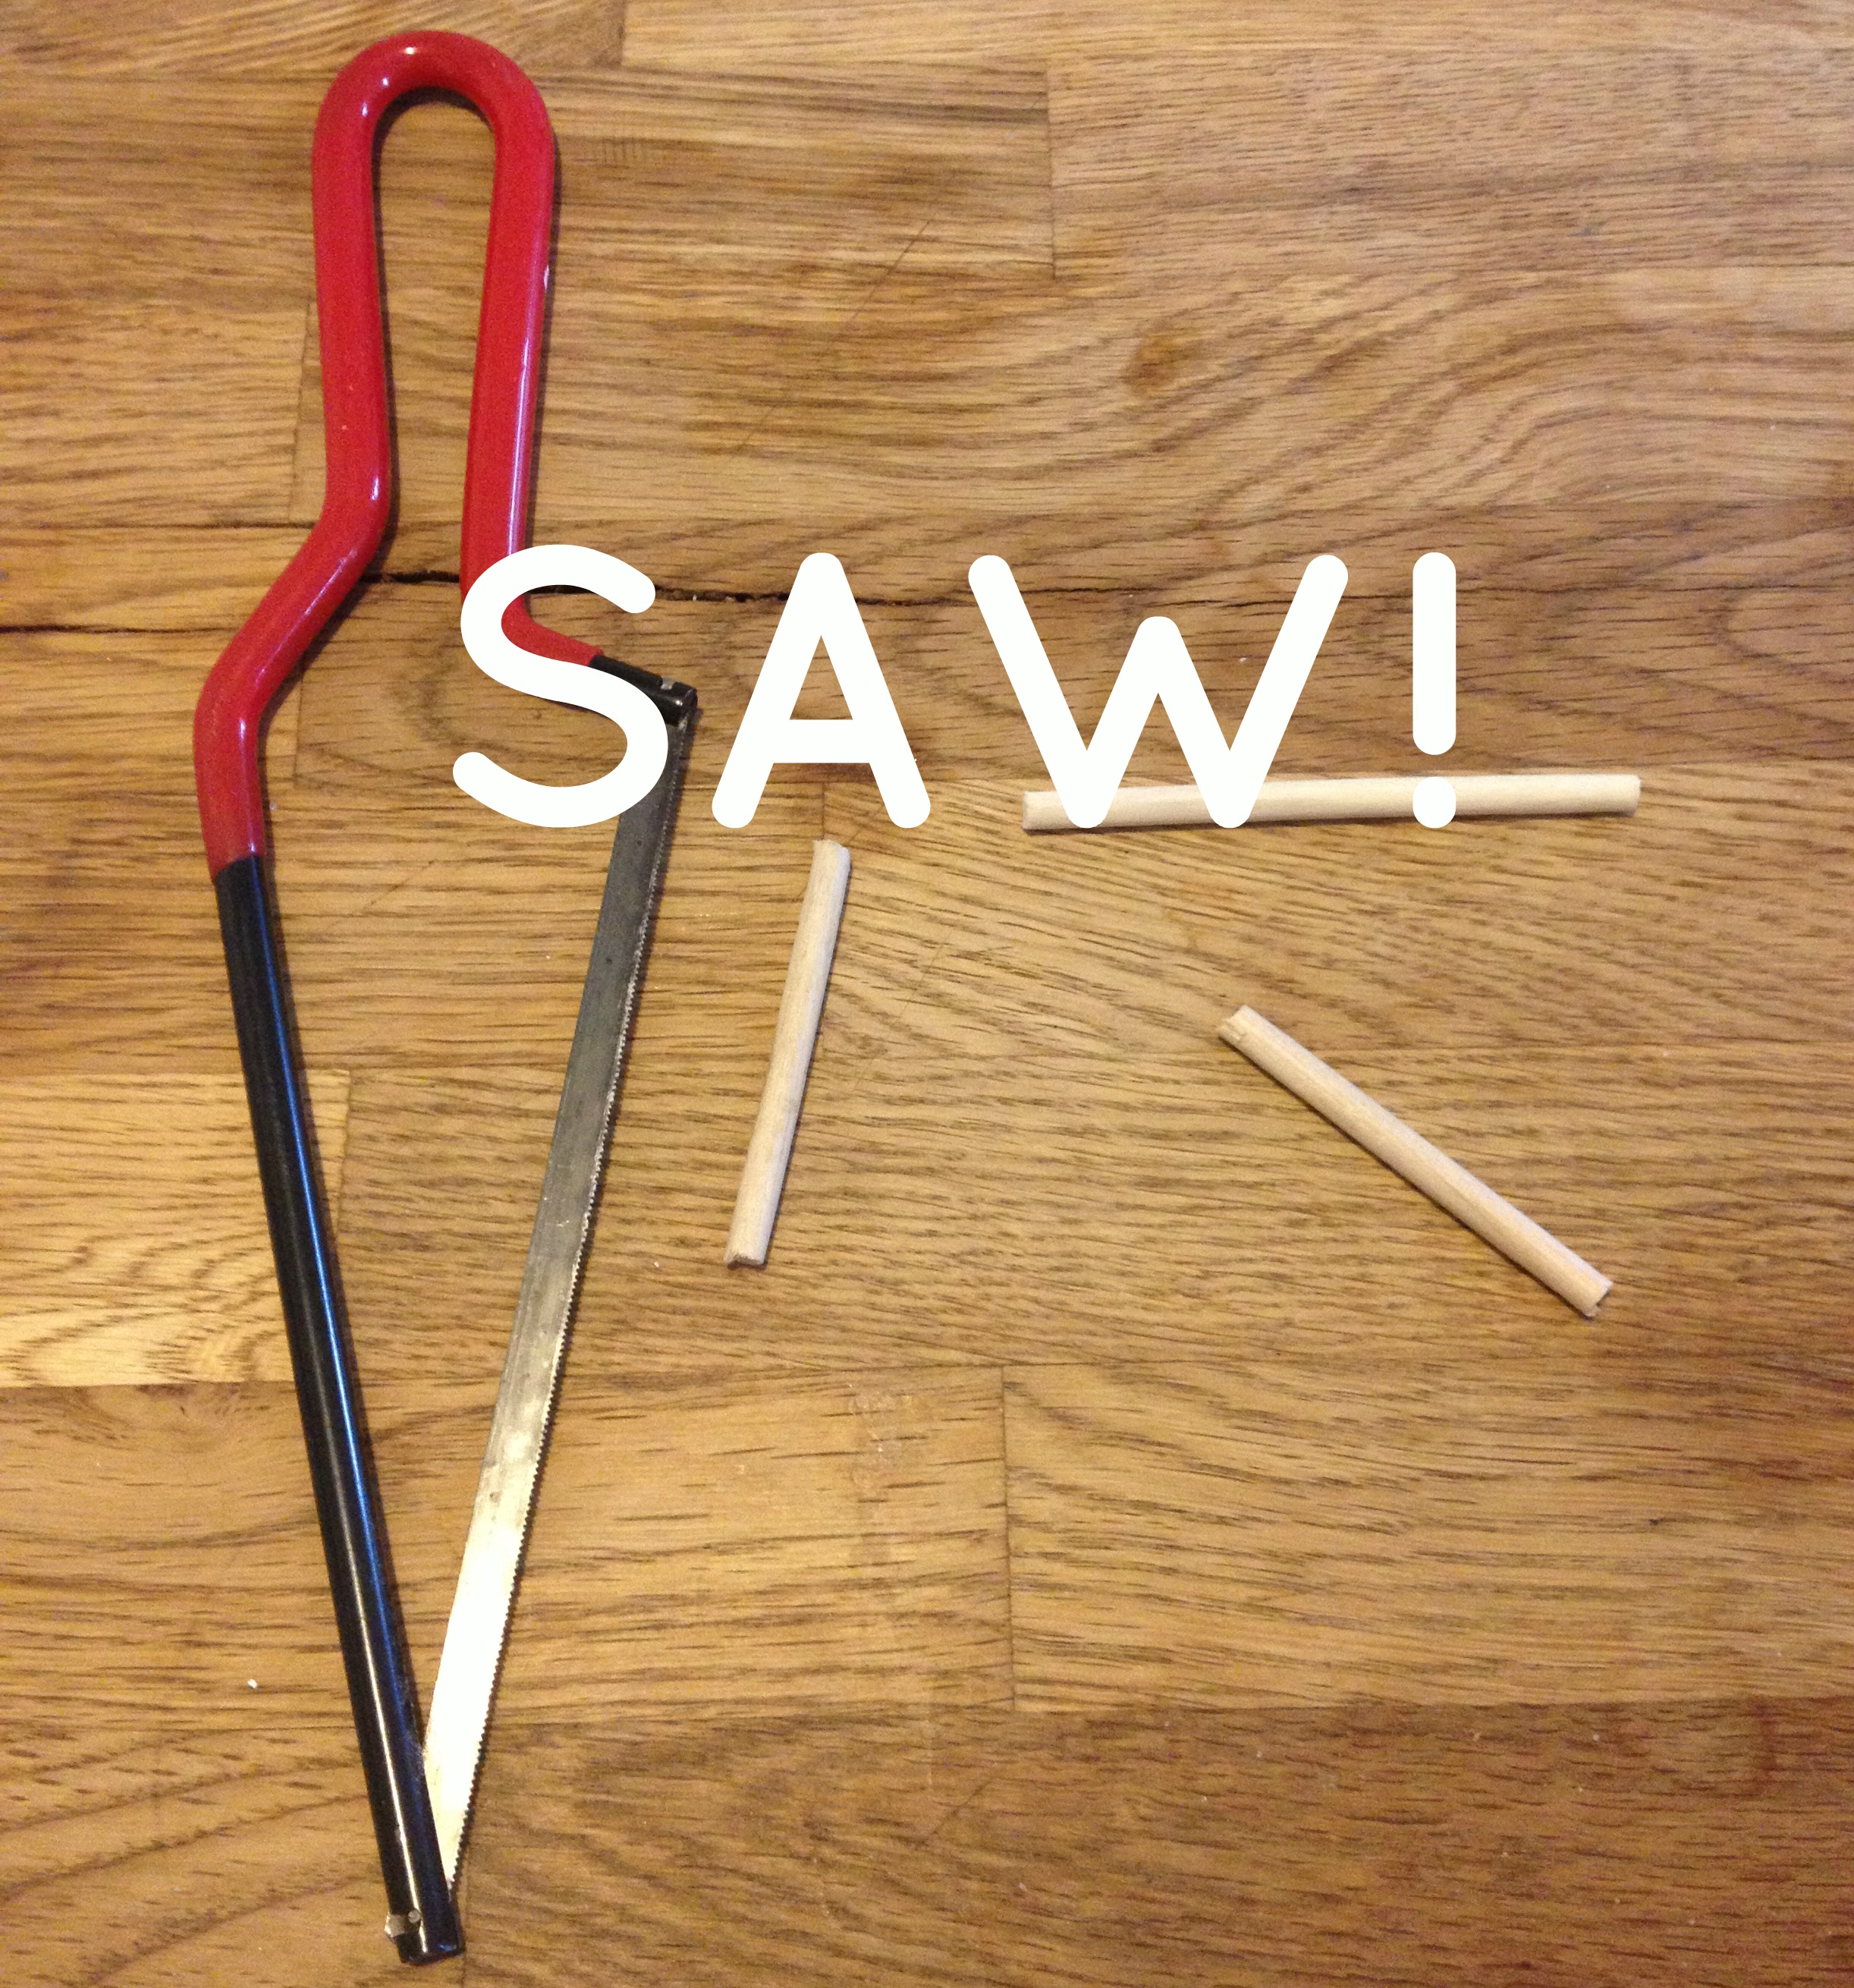
Step Three: Saw your dowel rod. You’ll want the pieces to be pretty much the same length but don’t stress about making them exact. I even left a few about an inch longer than the rest. I would say 2-3 inches is a good length in general. If you don’t have a saw you can get a little one like this for around $10 at any Hardware Store. It’s not the best but it gets little jobs like this done.

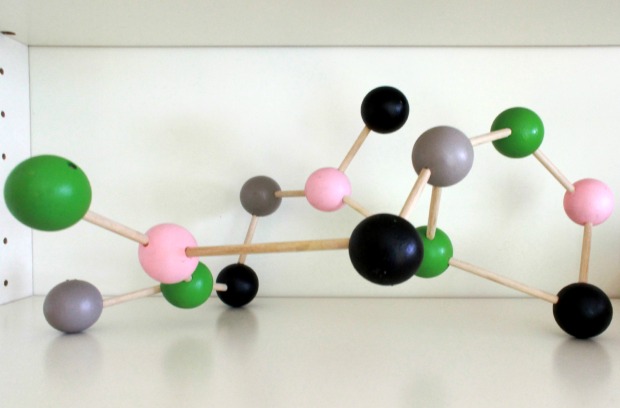
Step Four: Start building your molecule. The shape will largely be determined by the holes you drilled in Step One. It’s basically trial and error to get the dowel rods into the holes in such a way that it looks how you want. You may want to use an actual molecule for inspiration. Neel requested that I try the molecule for caffeine since the baby’s name means “full of energy”. And I sure did try…

If you squint and maybe cover one eye I think I did a pretty good job! I mean, its obviously an abstract interpretation. This was my first molecule after all…

Caffeine or not, I’m super happy with how it came out. Now, I made this particular molecule with the intention of it being a stationary room accessory. But I see no reason why you couldn’t make one that you can take apart and put together a bunch of times if you want it to function as an actual science-y toy thing. Or I could see this being just a cool Mid-Century-esque accessory in a big-person room. Either way, DIY-ing will save you a ton of money…
Cost Breakdown:
Wooden balls: $3.99 x 2= $7.98
Dowel Rod: 88¢
Paints: 1.99 x 3=$5.97
Total: $14.83
So just like that I saved you about $65. Go forth and build!
(If you want check out the full Mad Scientist Nursery post for some context.)

Cool idea! We still have my husband’s old plastic molecule building set but it doesn’t look as good as a wooden one. I’ll have to take a look at it to see if it’s in good condition and but maybe I’ll end up making my own for the fun of it.
Thanks Cat! It’s a fun project and doesn’t take a long time either. (Plus you can pick the colors which was my favorite part) 🙂
Pingback: Make a Constellation! Any Constellation! | HausWitch
Fabulous! I want to make a bunch of put together painted balls and sticks for my son to use when we do a homeschool chemistry camp this summer! I looked at the ones for purchase, but for the price we would have to reuse the pieces everytime we wanted to make a new molecule. I want to have a collection of molecules by the end of our camp. Thank you!